
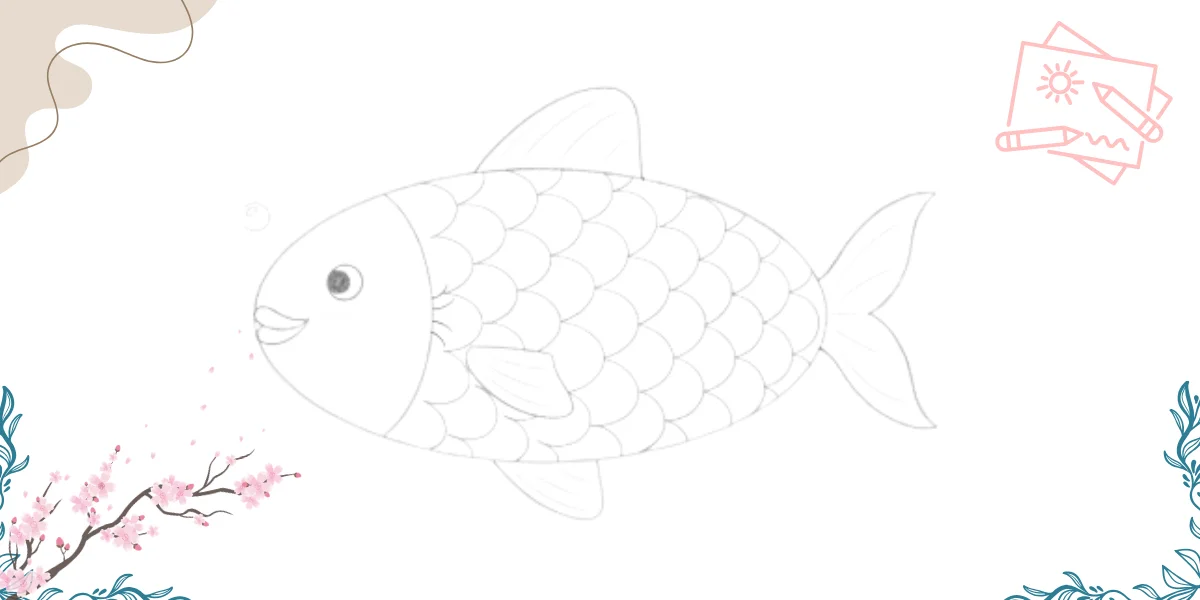
You can learn how to draw a fish in a fun and super easy way when you break it into simple steps. This guide is made especially for beginners and kids, helping you turn basic shapes into a cute and friendly fish without confusion.
If you want to learn how to draw a fish step by step, you are in the right place. Follow each step slowly, and by the end, you will have a beautiful fish drawing ready to enjoy or color.
Learn How to Draw a Fish Step by Step
Get your pencil ready and start creating your fish using simple shapes and smooth lines. Keep your strokes light at first so you can fix mistakes easily. Take your time and enjoy watching your drawing come together.
Want to see the secret shapes? Follow the lines in these fish drawing ideas →
Basic Fish Body Shape

Start by drawing a large oval shape in the center of your page. This forms the main body of your fish. Keep your lines soft and light. Draw a faint straight guideline across the oval to help place the face later.
Add Tail Shape
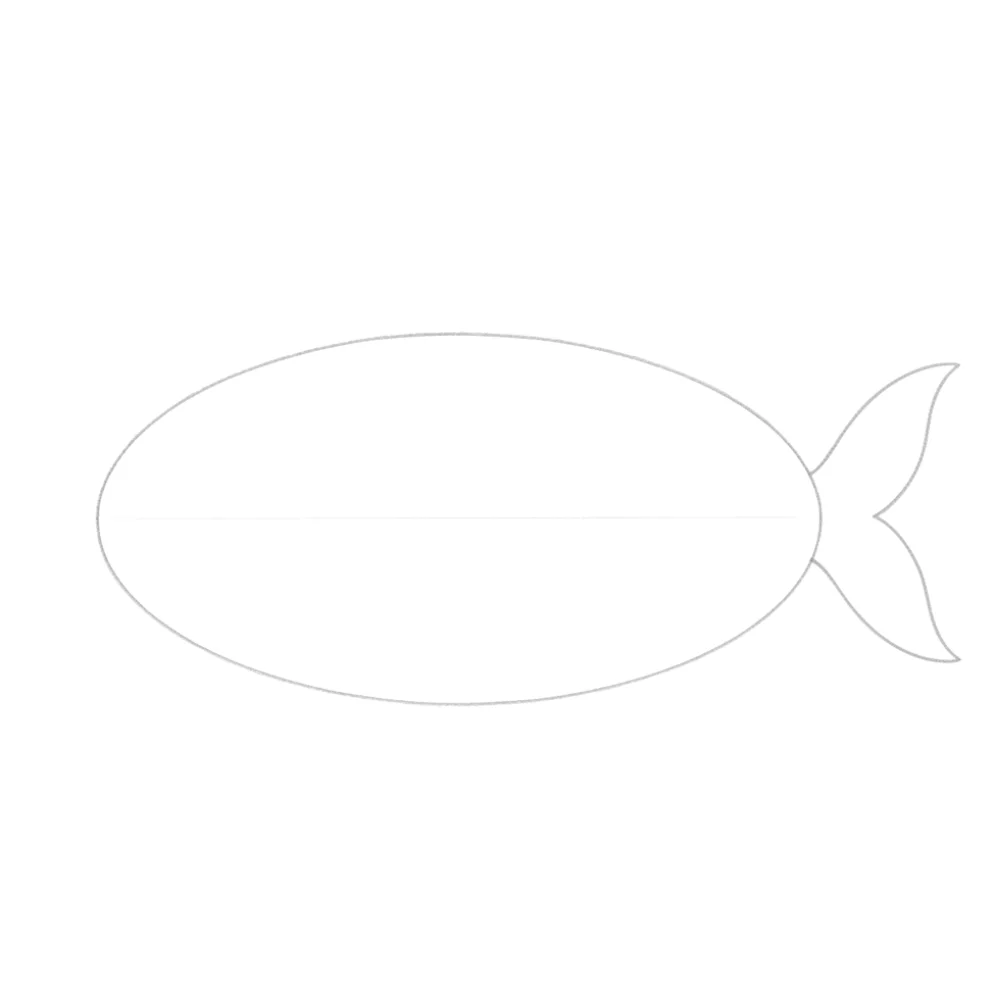
At the back of the oval, draw a simple tail using two curved lines that meet at a point. Keep the shape smooth and balanced. This forms the basic swimming structure of your fish.
Draw Head Section
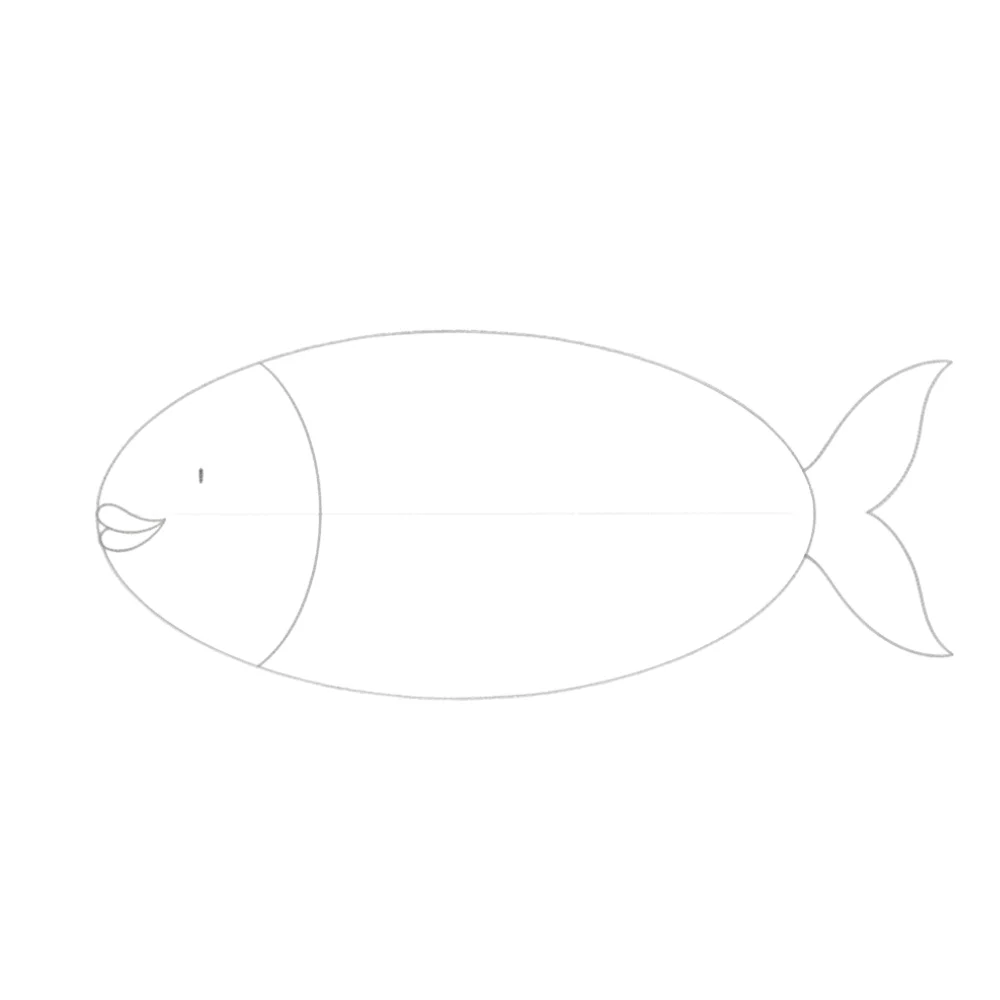
Move to the front of the oval and sketch a small curved line for the mouth. Then draw a gentle curved line behind it to show the gill area. This forms the fish’s head structure.
Add Eye and Fins
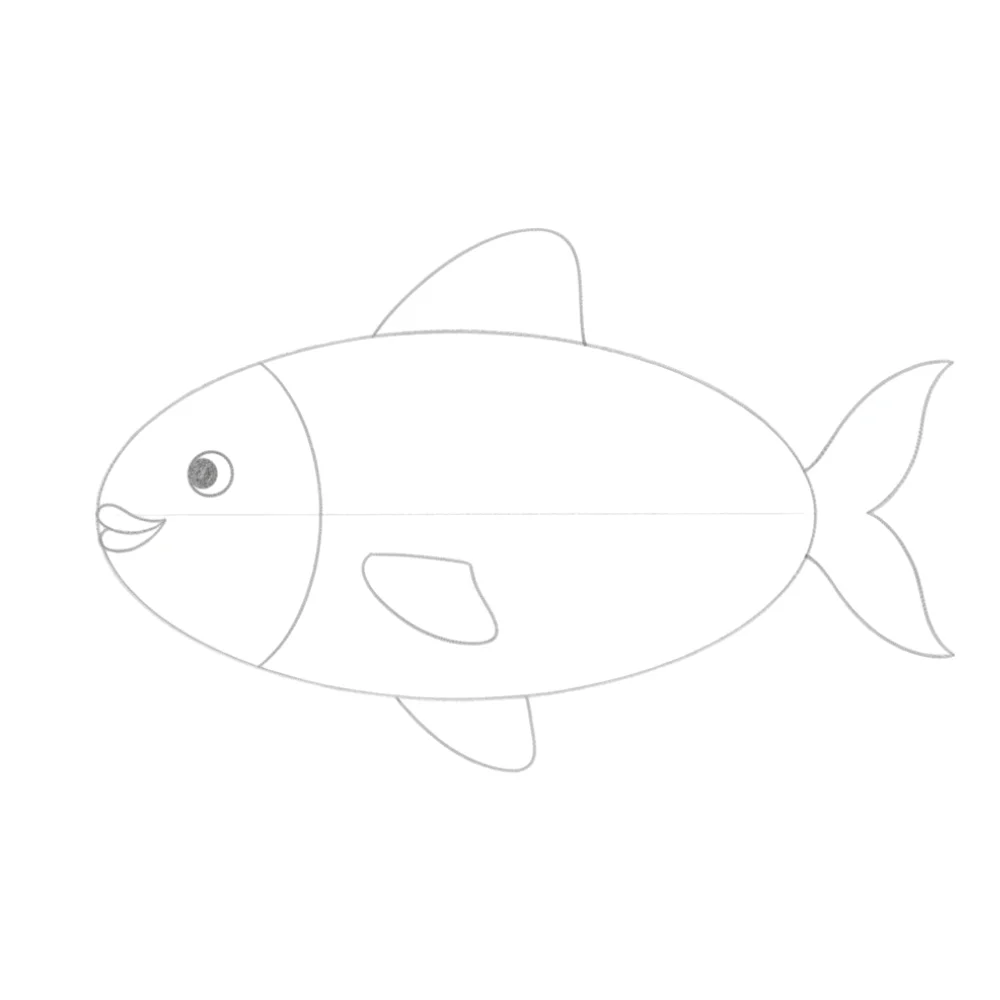
Draw a small circle for the eye and place a tiny dot inside it. Add a top fin using a curved triangle shape. You can also add a small side fin on the body.
Refine Fins and Tail Details
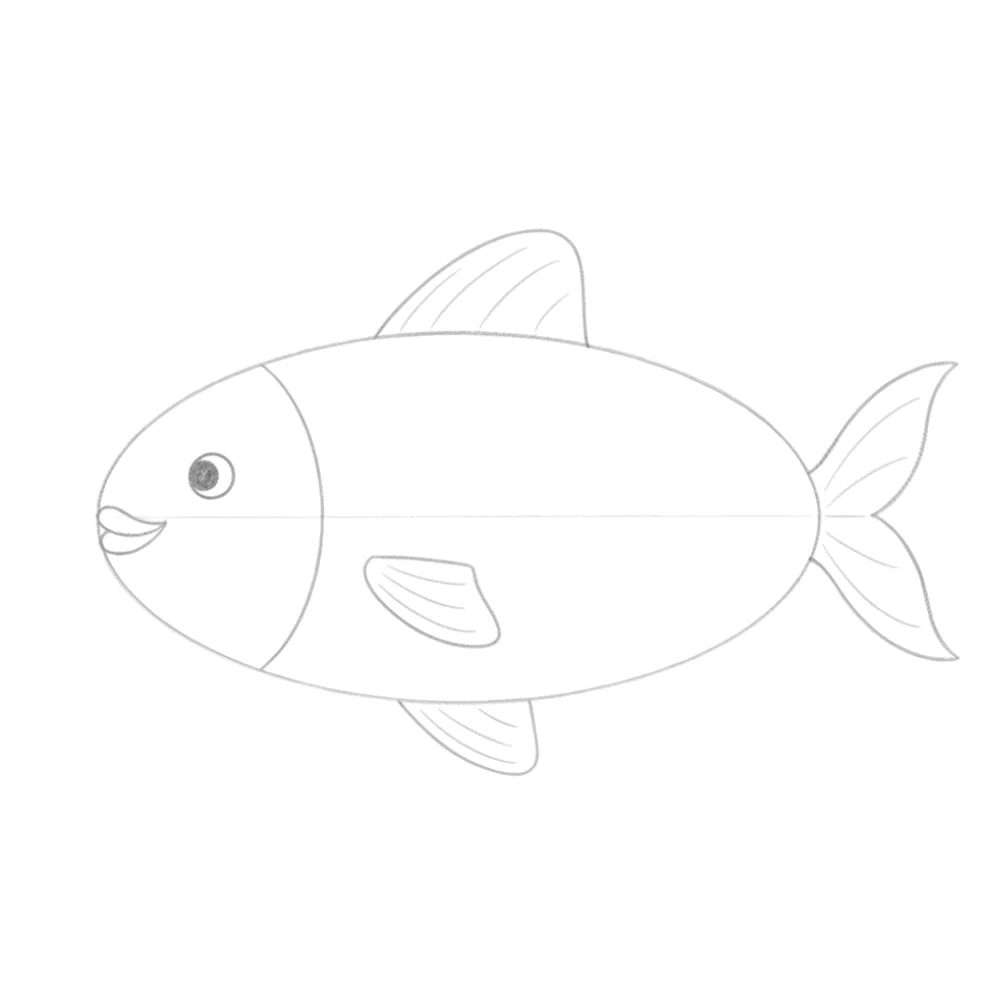
Go over the fins and tail to make them smoother and more natural. Add light lines inside them to show texture and movement. This step makes the fish look more alive.
Add Face and Small Features
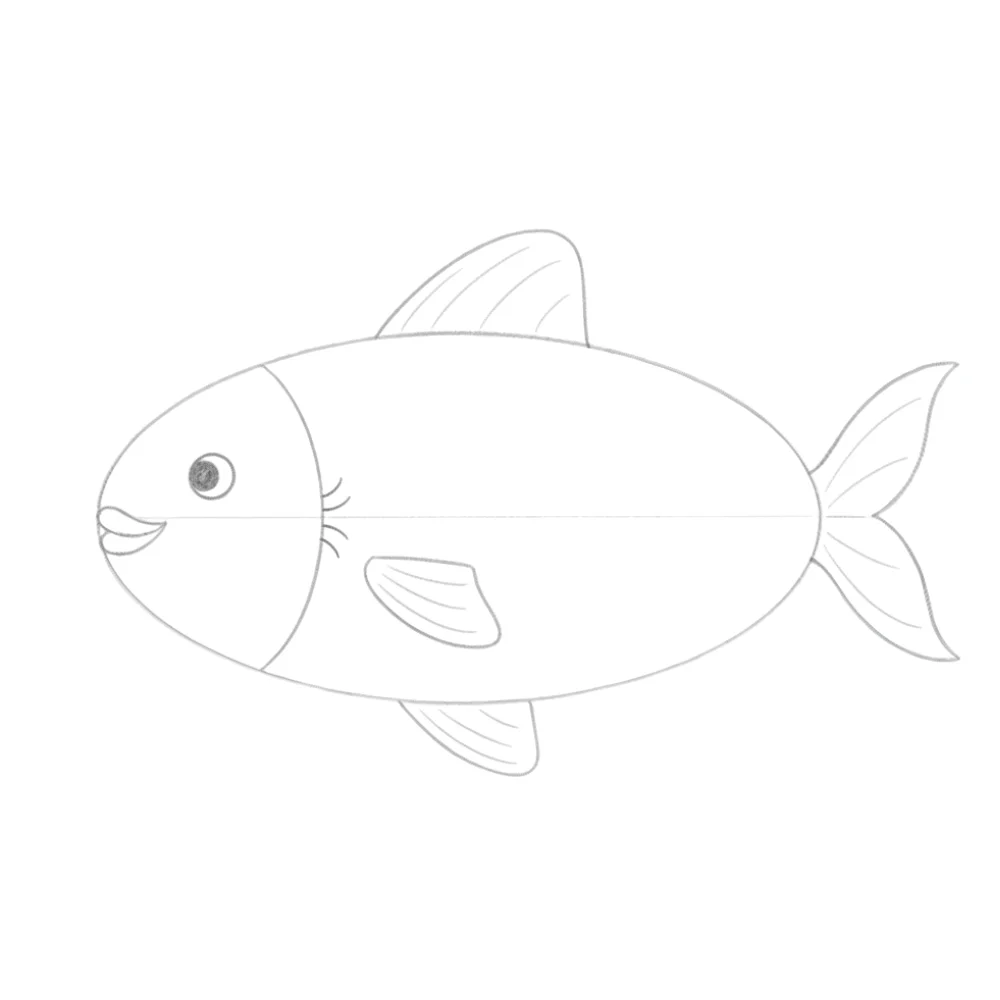
Improve the mouth shape and make the eye clearer. Add small curved lines near the head for gills. Refine the fins slightly to make them neat and balanced.
Draw Scales and Final Details
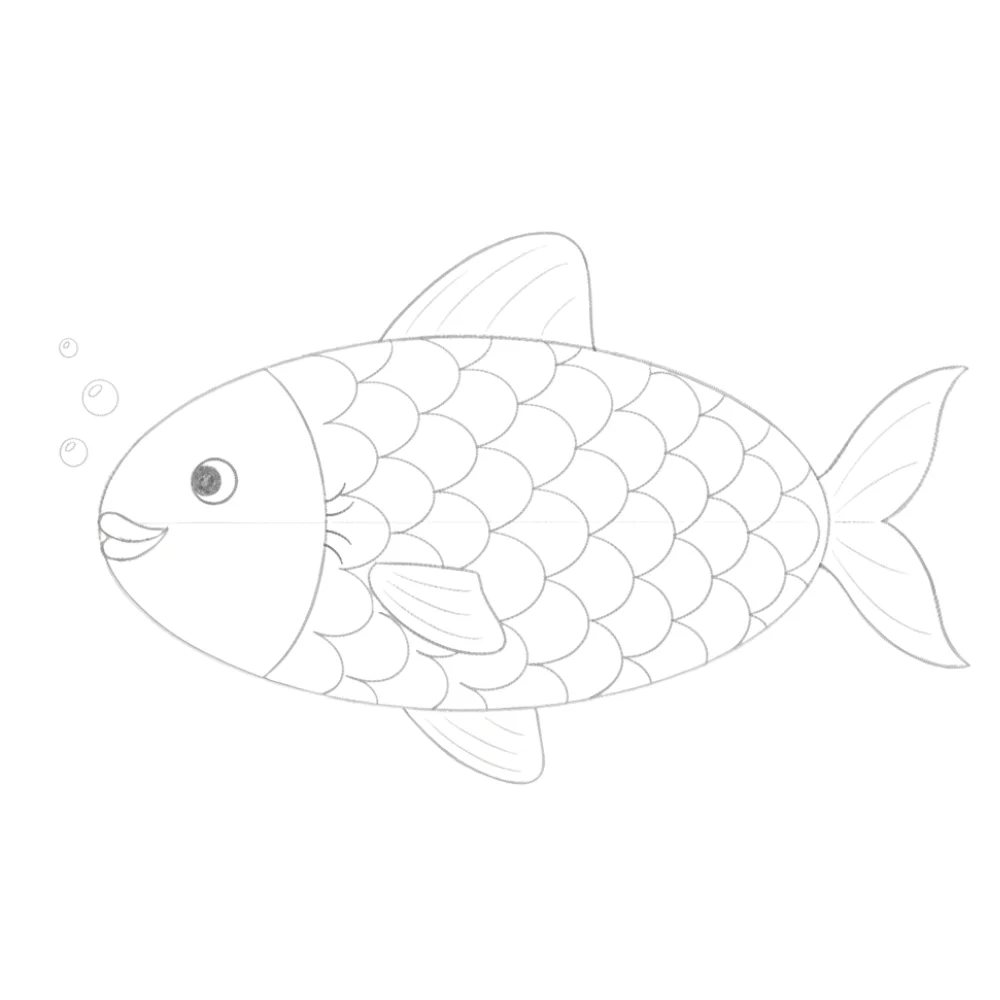
Finish your fish by adding small scale patterns across the body. Darken the main outline to make the drawing stand out. You can also add tiny bubbles around the fish for a fun effect.
Conclusion
Awesome work! You learned how to draw a fish step by step, starting from a simple shape and turning it into a complete drawing. Each step helped build your fish in an easy and enjoyable way.
Keep practicing and get creative by adding colors, bubbles, or even a full underwater scene. The more you draw, the more your skills will improve and your confidence will grow.
FAQ’s about how to Drawing a Fish
Why does my fish body look uneven?
This usually happens when the base shape is not smooth. Start with a light oval and adjust it before adding details.
I struggle with drawing fins, what can help?
Keep the shapes simple at first. Use soft curves and add details later once the shape feels right.
My drawing looks rough, how can I improve it?
Start with light strokes and darken only the final lines. Erase extra guidelines for a clean result.
My fish doesn’t look lively, what should I add?
Add scales, fin lines, and bubbles. Small details make a big difference in the final look.
I lose interest while drawing, what should I do?
Take short breaks or make it more fun by adding colors, waves, or other sea animals.