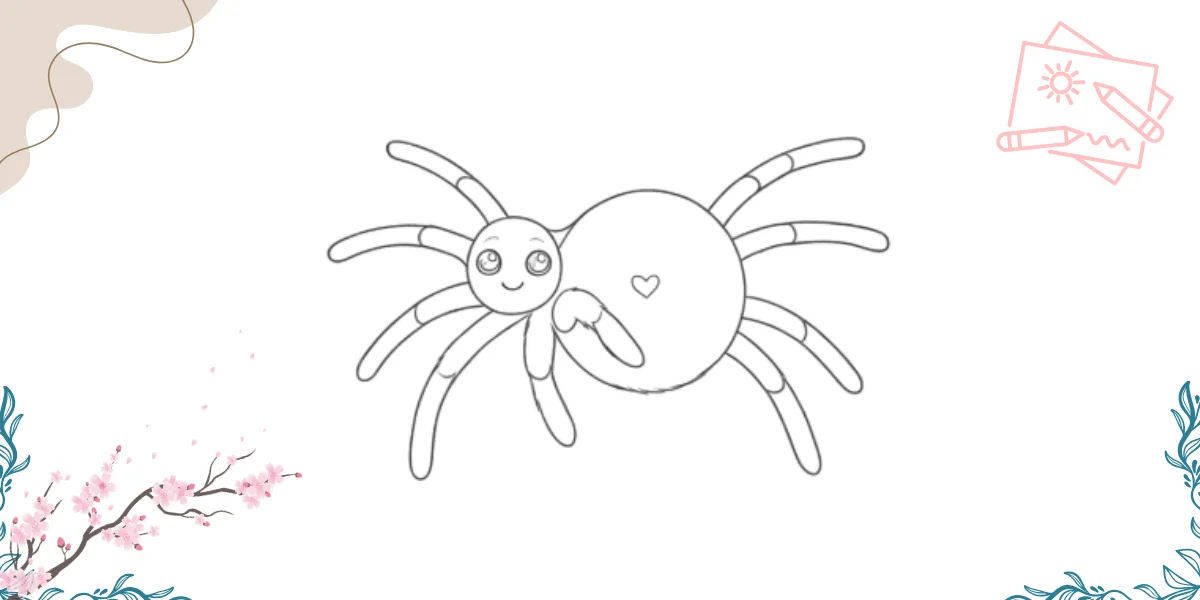
Learning how to draw a spider can be fun and easy when you follow simple steps. This guide is perfect for beginners and kids, helping you turn basic shapes into a cute spider drawing without any confusion.
If you’re wondering how to draw a spider step by step, just follow along carefully. Take your time with each step, and soon you’ll have a complete spider drawing ready to enjoy or color.
Learn How to Draw a Spider Step by Step
Get your pencil ready and start with light strokes so you can easily fix mistakes. Slowly build your drawing step by step and enjoy watching your spider come to life.
Want to see the secret shapes? Follow the lines in these spider drawing ideas →
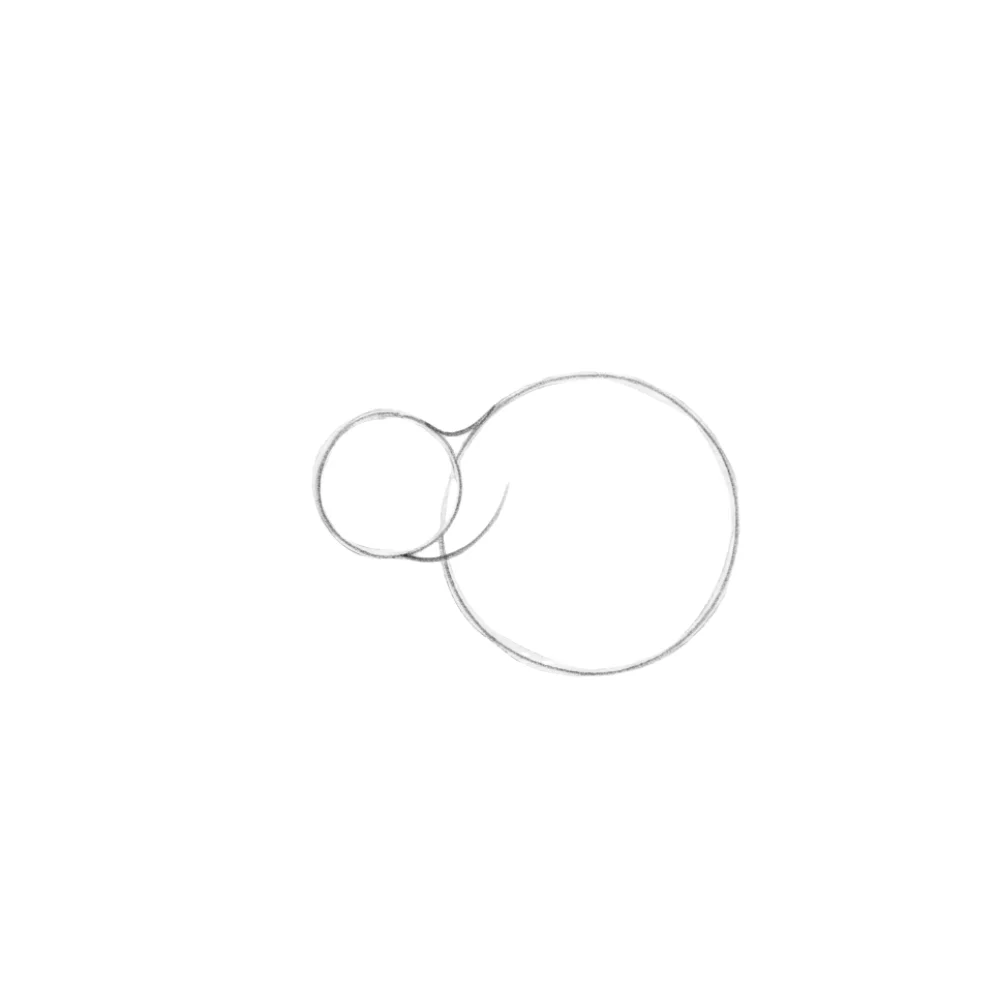
Draw very simple basic shapes
Start by drawing a small circle for the spider’s head. Then draw a much larger circle behind it for the body. Keep the shapes light and simple so they are easy to adjust later.

Connect the head and body
Connect the head and body with two short curved lines. Refine both circles slightly so they look smooth and balanced. Keep everything simple and easy to copy.
Add simple leg guidelines
Draw four light guideline lines on each side of the body to show where the spider’s eight legs will go. Keep the lines thin, evenly spaced, and slightly curved.
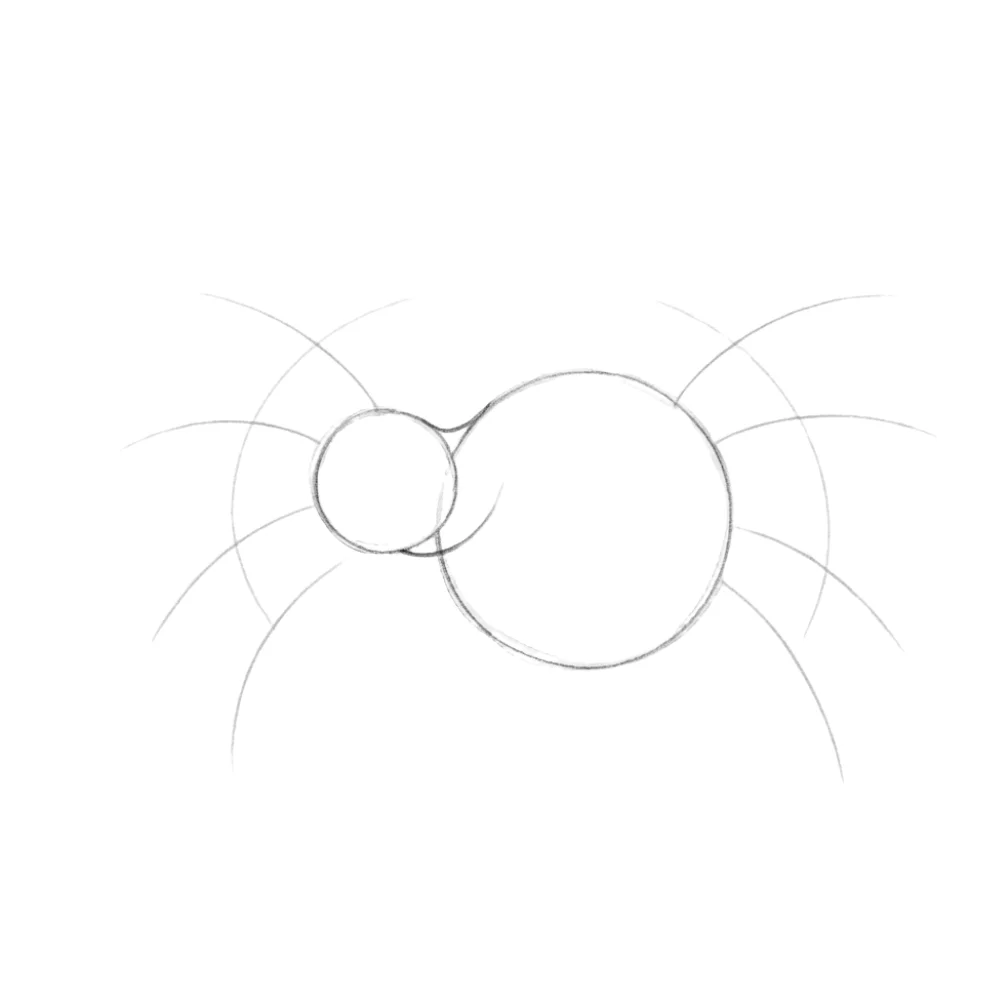
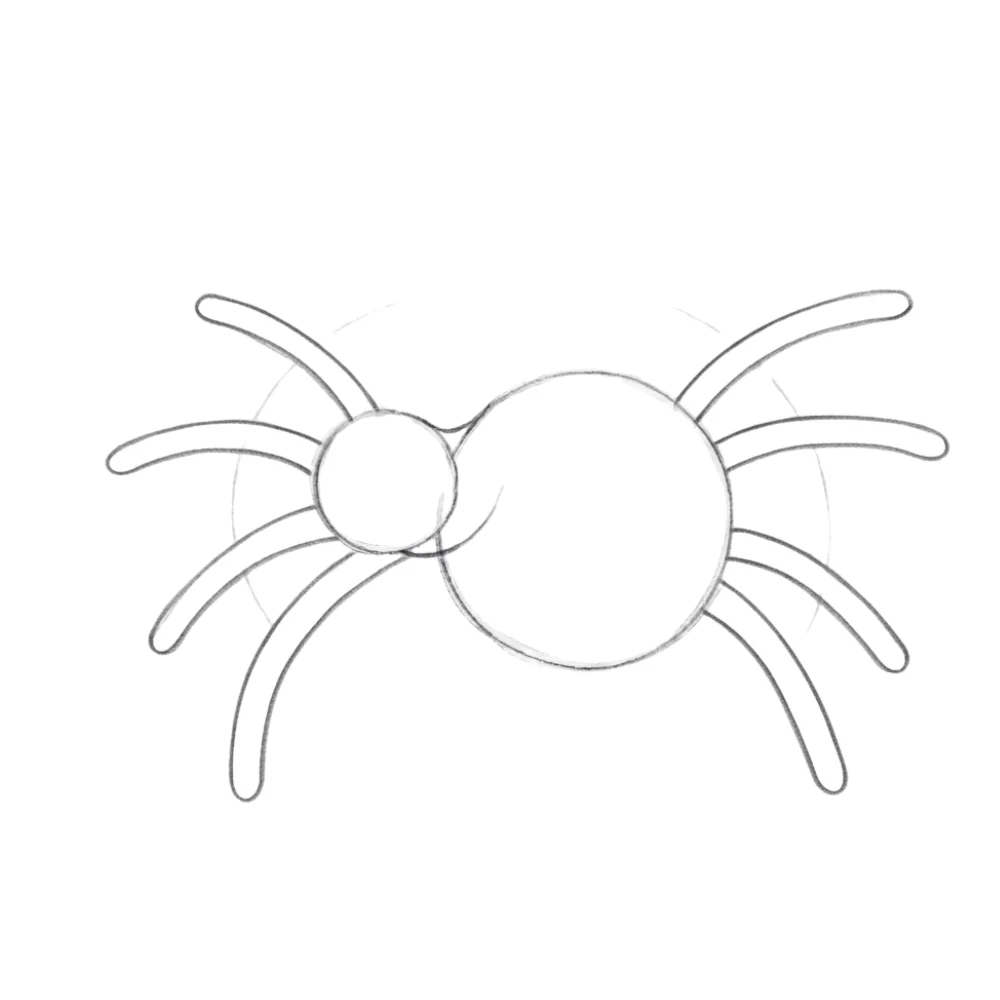
Shape the legs
Turn each guideline into a simple spider leg using two smooth curved lines. Make the legs long but not too thin. Keep the shapes beginner-friendly and balanced on both sides.
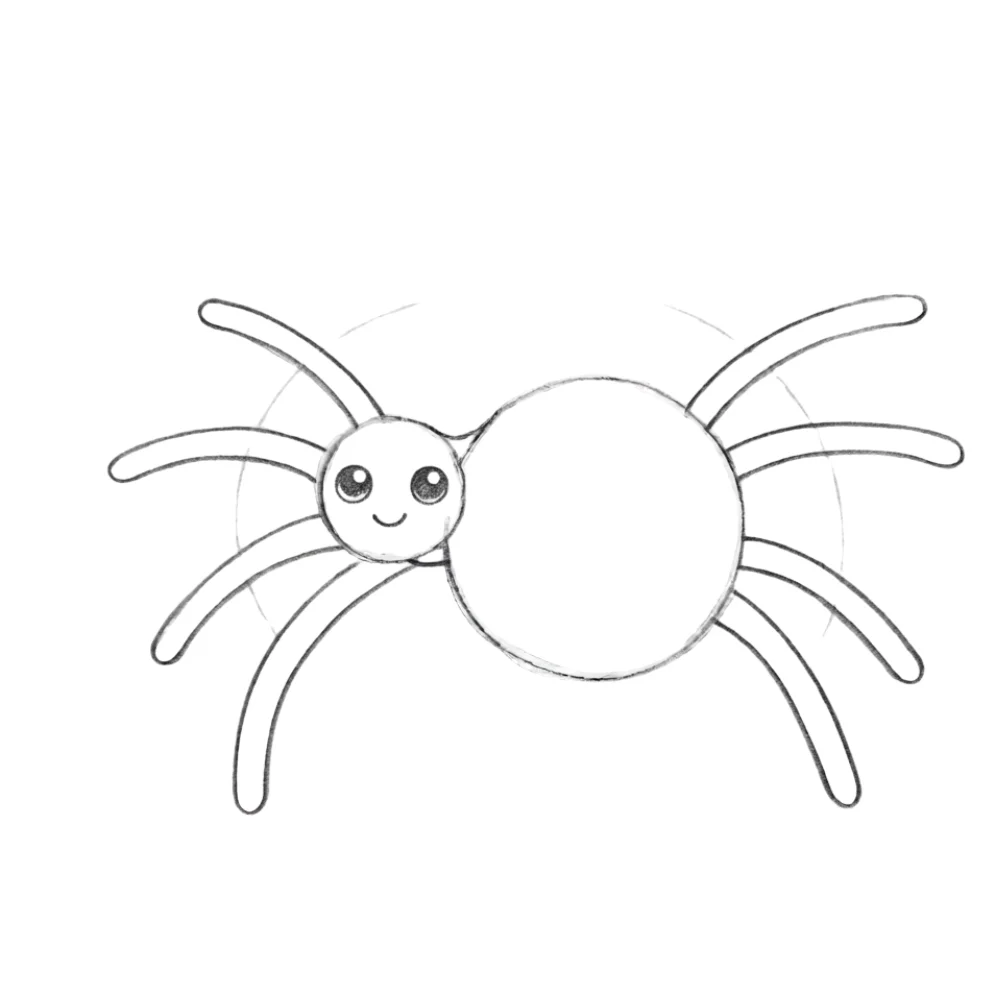
Add basic facial features
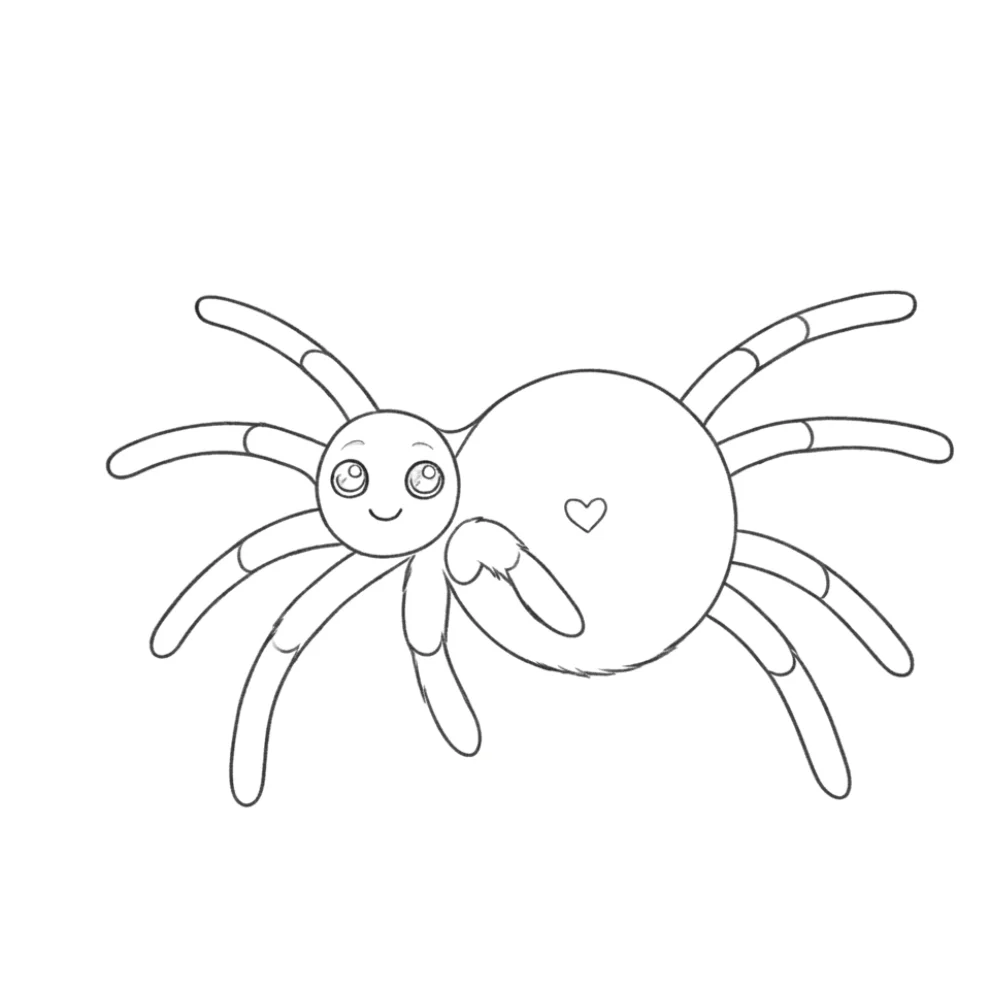
Draw two large round eyes and a small smiling mouth to give your spider a cute and friendly look. Your spider drawing is now becoming more recognizable.
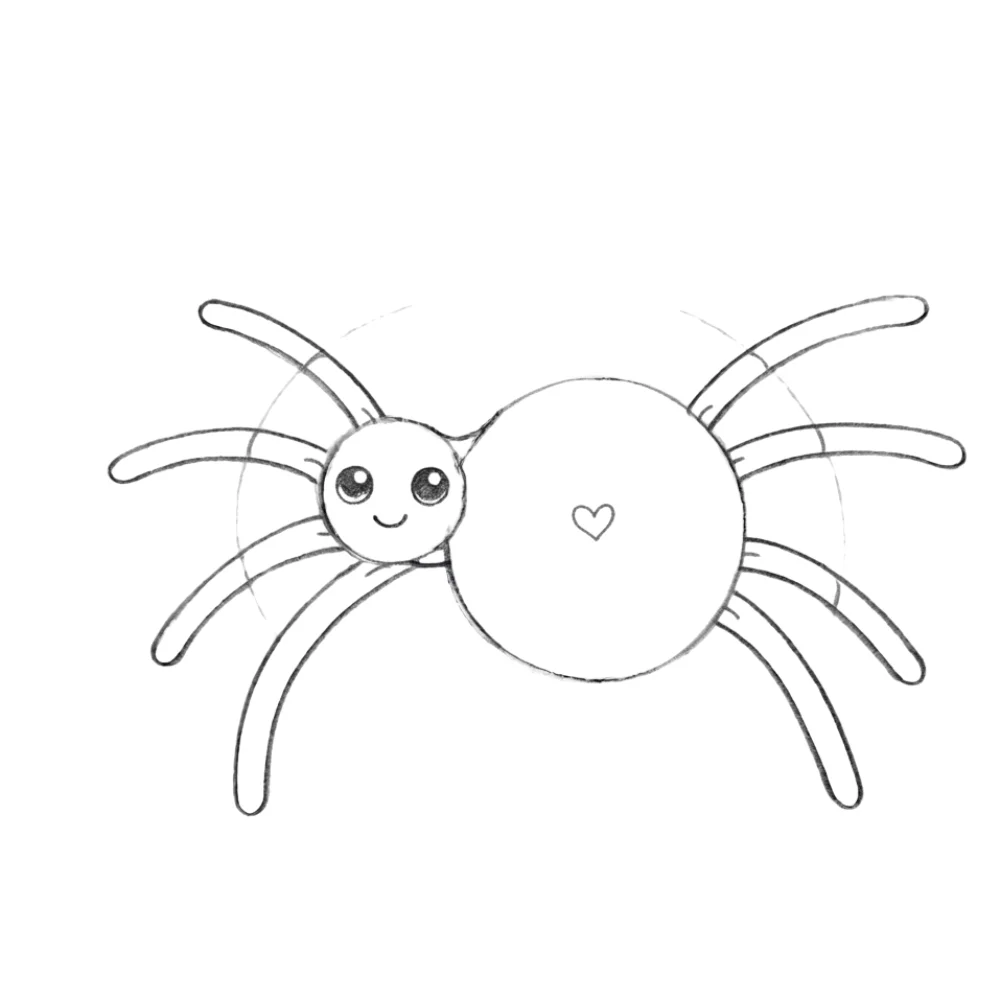
Add simple details
Draw a few short curved lines where the legs connect to the body. Add a tiny pattern, such as a small heart or simple oval, on the spider’s back. Keep the details minimal and easy.
Final clean drawing with balanced detail
Erase all unnecessary guidelines and darken the final outlines. Make the legs, face, and body neat and clear. Your spider drawing is now complete and ready to be colored.
Conclusion
Great job! You’ve learned how to draw a spider step by step by starting with simple shapes and gradually adding details. Following each step carefully makes drawing easier and more enjoyable for beginners.
Keep practicing and try drawing spiders in different sizes or expressions. You can also add a simple spider web, leaves, or a tree branch to create a fun nature scene.
FAQs about How to Draw a Spider
Why does my spider look uneven?
This usually happens when the body circles or legs are not balanced. Draw lightly at first so you can make adjustments before adding details.
My spider’s legs look messy. How can I fix them?
Start with light guideline lines first, then slowly shape each leg using smooth curves. Keep the legs evenly spaced on both sides.
How do I draw a cute spider?
Use large round eyes, a small smiling mouth, and rounded body shapes. Simple features make the spider look friendly instead of scary.
I keep drawing different-sized legs. What should I do?
Try drawing the legs one pair at a time and compare them with the opposite side before darkening your lines.
How can I make my spider drawing more fun?
Add a spider web, leaves, flowers, or a tiny insect nearby to create a playful outdoor scene.