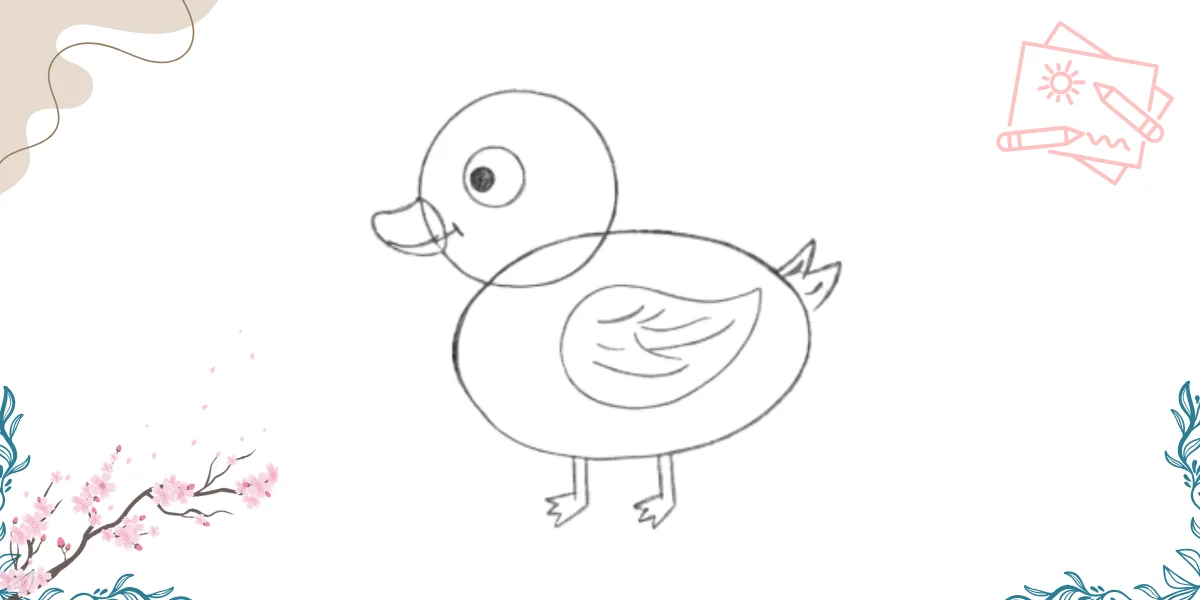
Learning how to draw a duck can be fun and easy when you follow simple steps. This guide is perfect for beginners and kids, helping you turn basic shapes into a cute duck drawing without any confusion.
If you’re wondering how to draw a duck step by step, just follow along carefully. Take your time with each step, and soon you’ll have a complete duck drawing ready to enjoy or color.
Learn How to Draw a Duck Step by Step
Get your pencil ready and start with light strokes so you can easily fix mistakes. Slowly build your drawing step by step and enjoy watching your duck come to life.
Draw very simple basic shapes
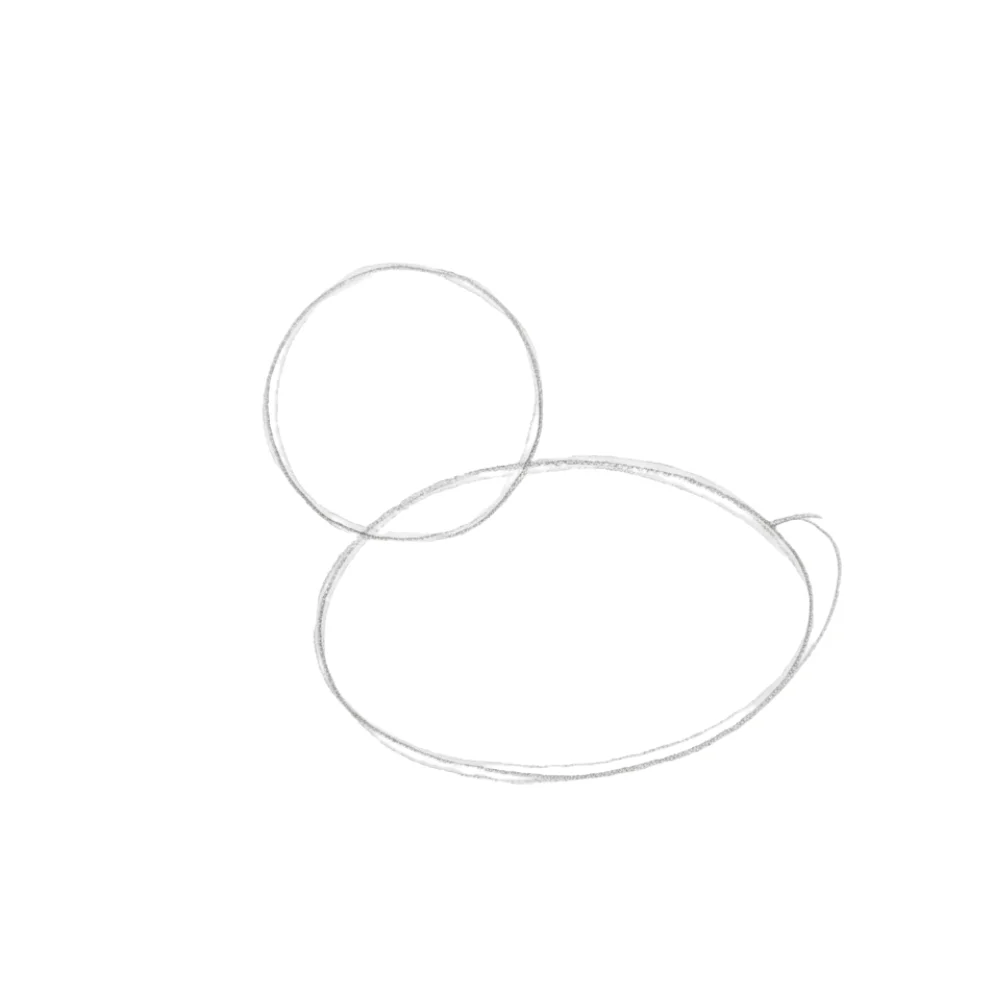
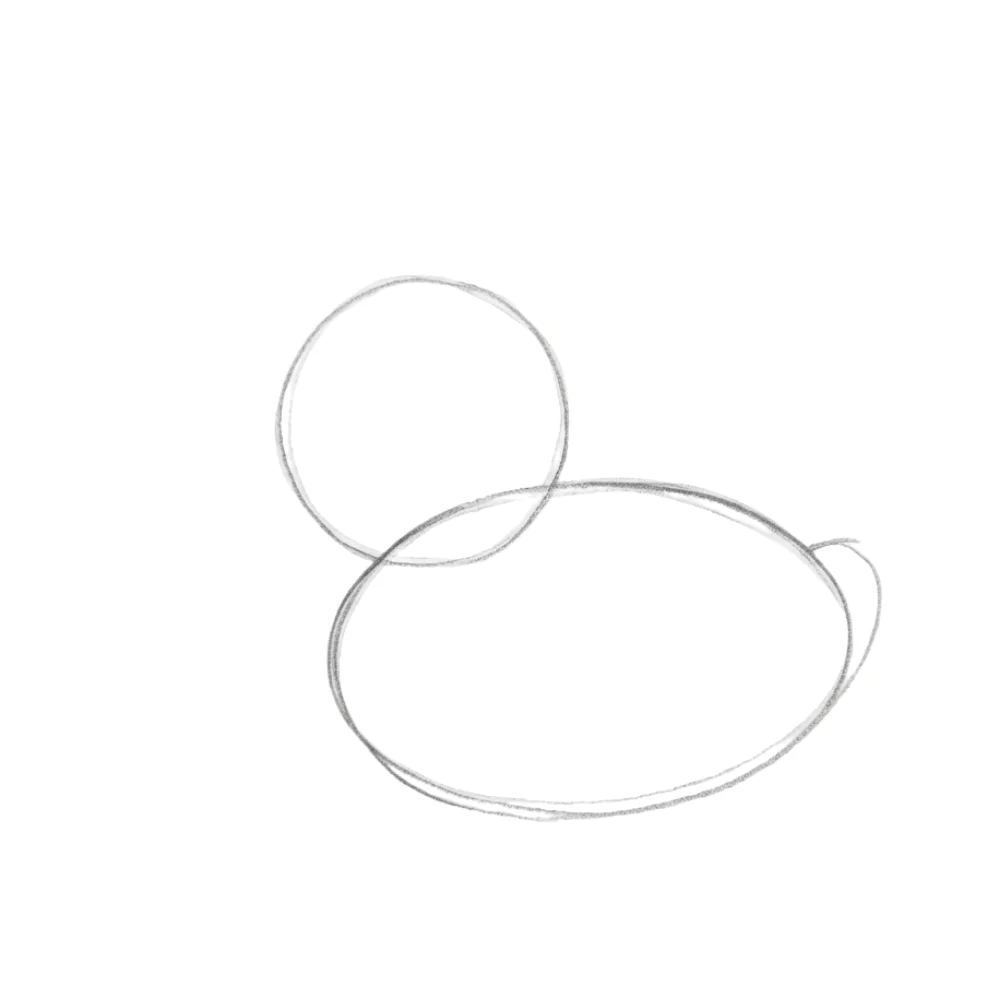
Start by drawing a medium circle for the duck’s head. Then draw a larger horizontal oval below and slightly behind it for the body. Keep the shapes light and simple so they are easy to adjust later.
Want to see the secret shapes? Follow the lines in these duck drawing ideas →
Connect the head and body
Now connect the head and body using two smooth curved lines to form the neck. Refine the body outline slightly so it looks soft and rounded. Keep everything simple and balanced.
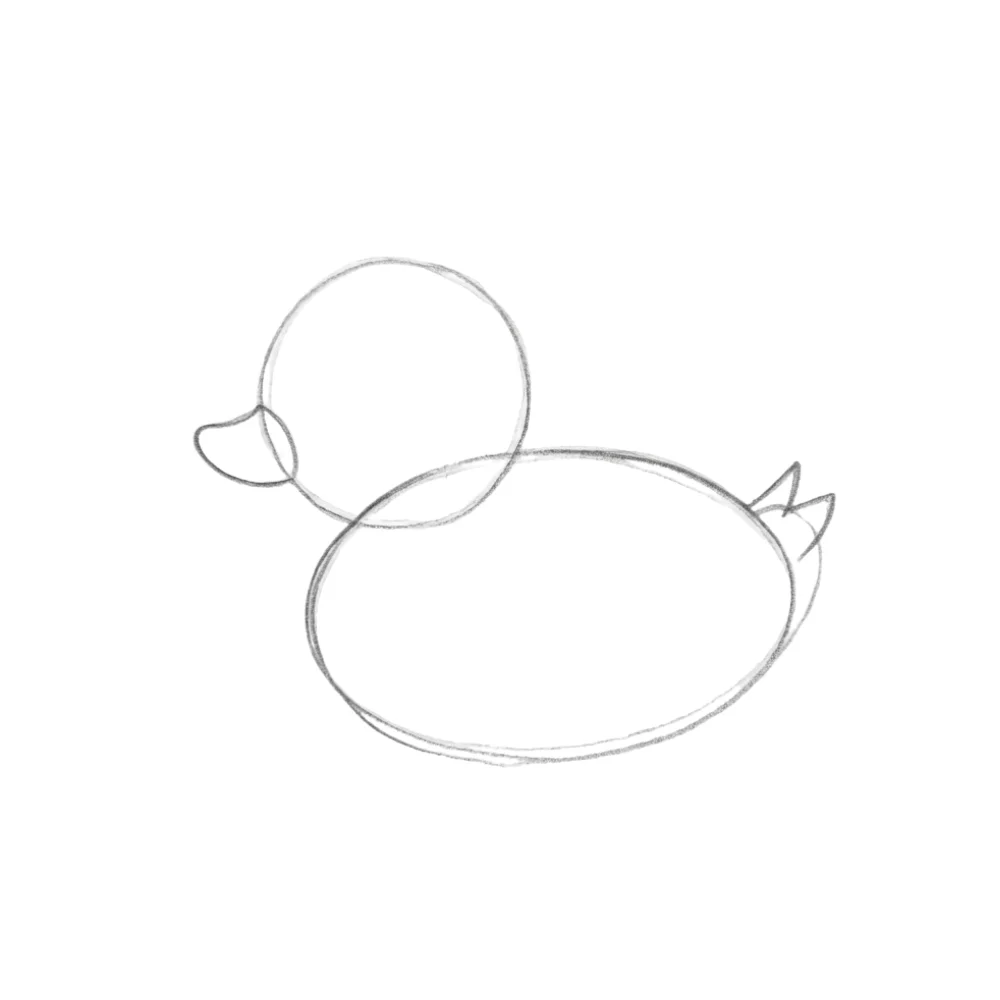
Add the beak and tail
Draw a short rounded beak extending from the front of the head. At the back of the body, add a small pointed tail using two short curved lines. Your duck is beginning to take shape.
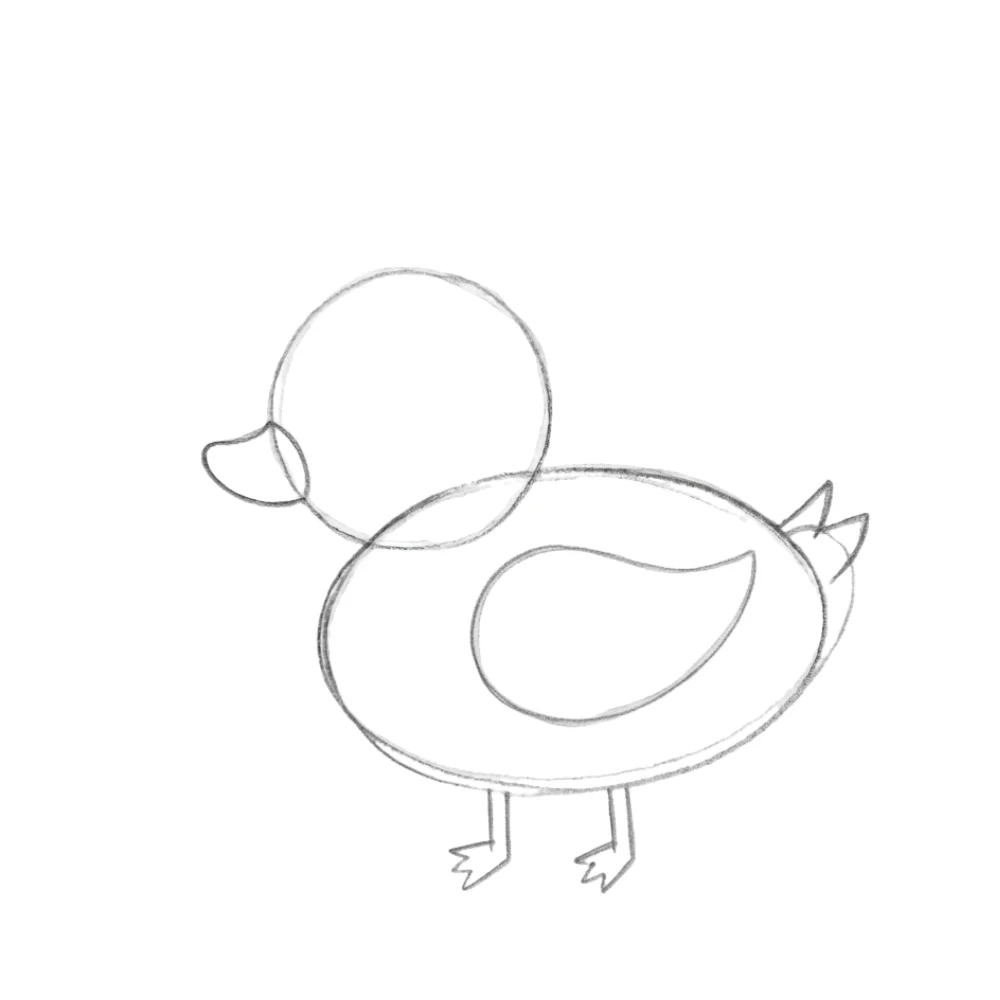
Add the wings and legs
Draw one simple wing on the side of the body using a curved teardrop shape. Then add two short legs underneath the body with small webbed feet. Keep the shapes easy and beginner-friendly.
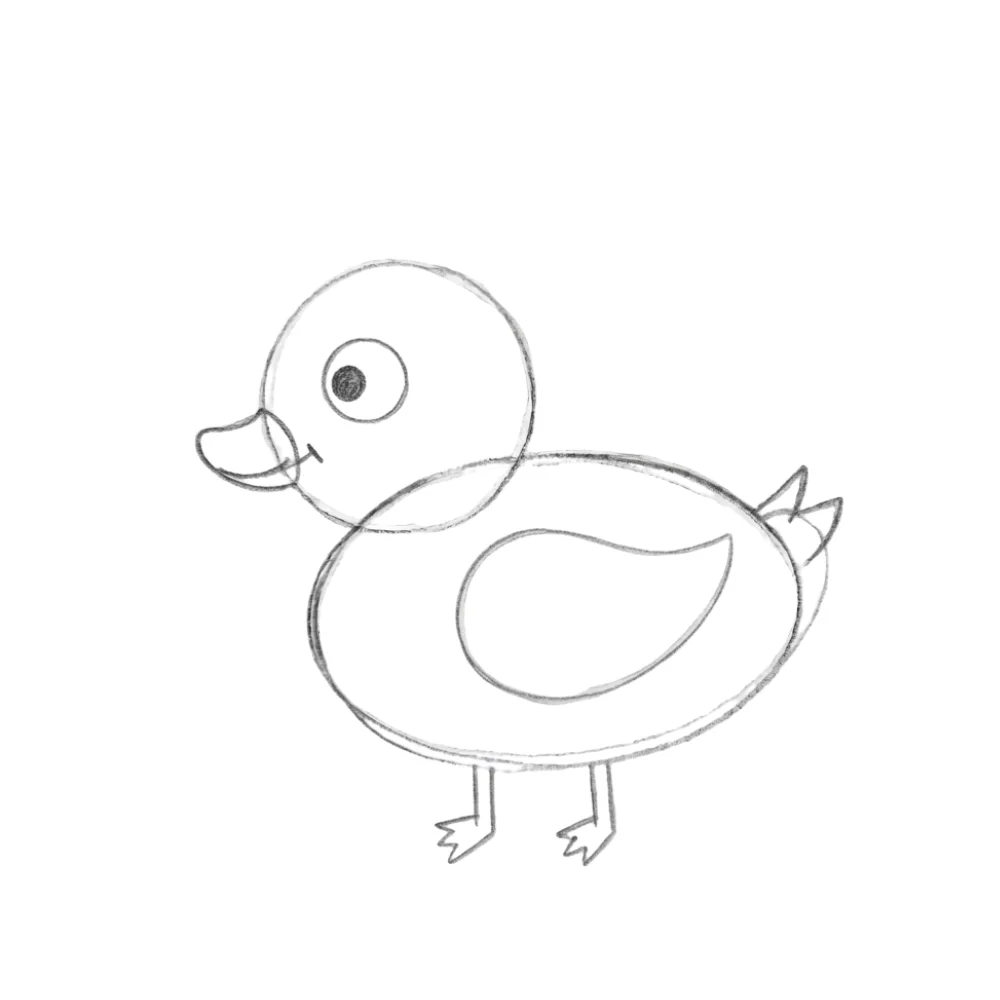
Add basic facial features
Draw one large round eye with a small pupil. Add a tiny curved smile below the beak to give your duck a happy expression. Your cute duck drawing is now becoming more recognizable.
Add simple feather details
Draw a few short curved feather lines on the wing and tail. Add one or two small lines around the neck to give the duck a little more character without making it too detailed.
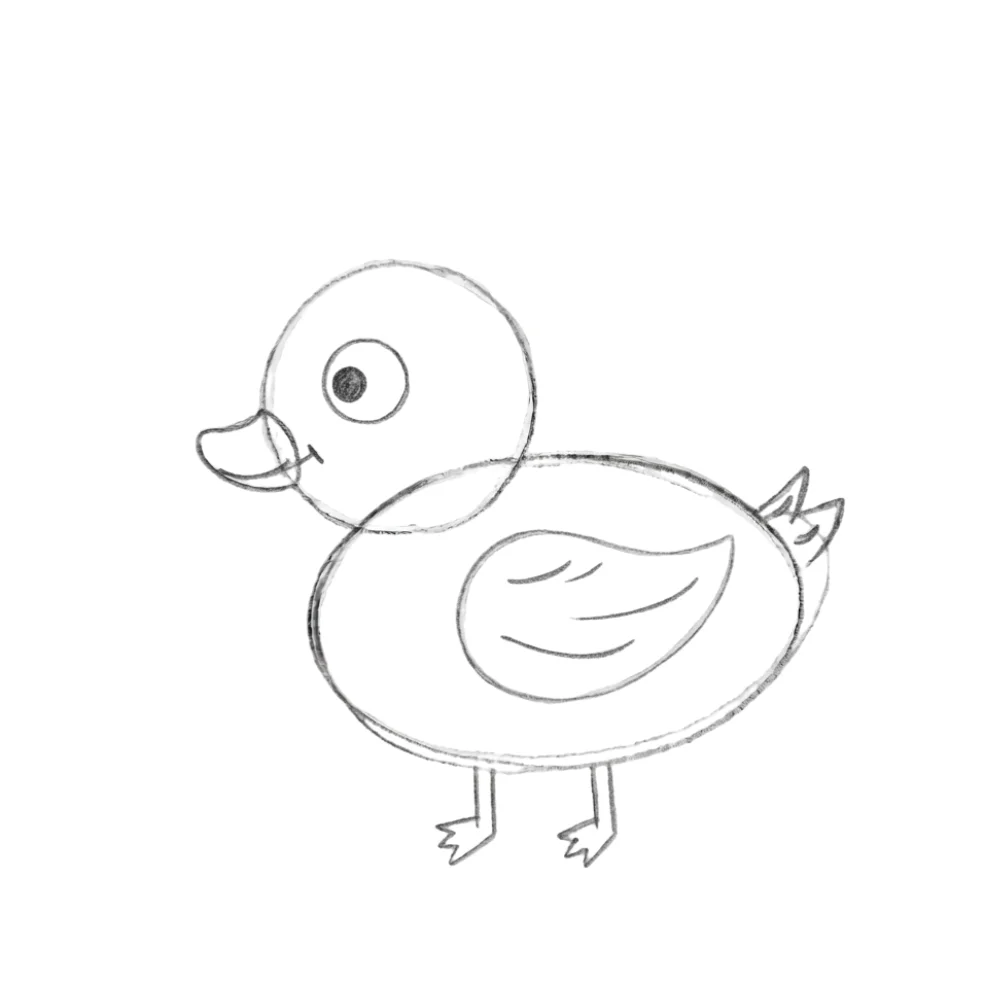
Final clean drawing with balanced detail
Erase all unnecessary guidelines and darken the final outlines. Make the beak, wings, legs, and feathers neat and clear. Your duck drawing is now complete and ready to be colored.
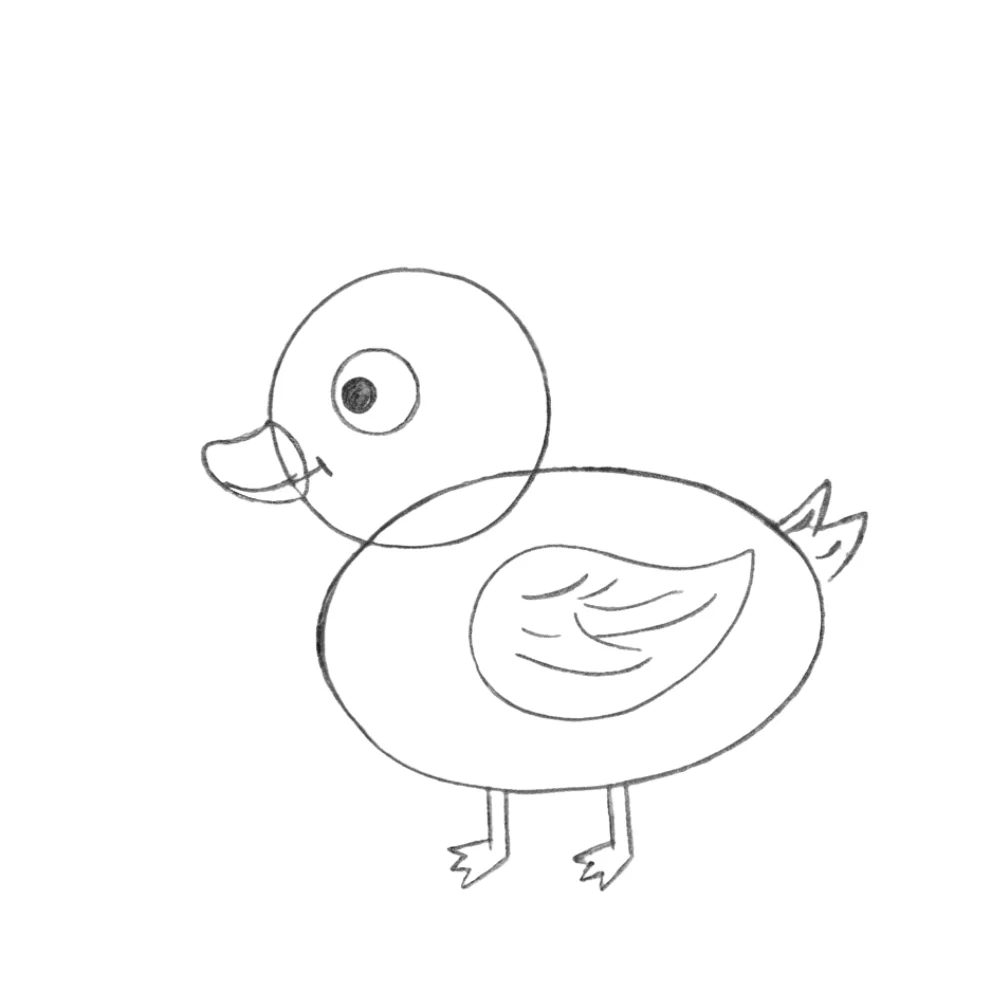
Conclusion
Great job! You’ve learned how to draw a duck step by step by starting with simple shapes and gradually adding details. Following each step carefully makes drawing easier and more enjoyable for beginners.
Keep practicing and try drawing ducks in different poses. You can also add a pond, grass, flowers, or little ducklings to create a fun nature scene.
FAQs about How to Draw a Duck
Why does my duck look uneven?
This usually happens when the head and body shapes are not balanced. Draw lightly at first so you can adjust the shapes before adding details.
My duck’s beak doesn’t look right. How can I fix it?
Keep the beak short and rounded instead of making it too long or pointed. A simple shape works best for beginners.
How do I draw duck feet easily?
Draw two short legs and add small webbed feet with three simple toes connected by curved lines.
I struggle with the wings. What should I do?
Start with one curved teardrop shape on the side of the body. Then add a few short feather lines to make it look more natural.
How can I make my duck drawing more fun?
Add a pond, cattails, flowers, clouds, or a family of ducklings to create a cheerful outdoor scene around your duck.