Learning how to draw a bat can be fun and easy when you follow simple steps. This guide is perfect for beginners and kids, helping you create a cute bat drawing using basic shapes and simple lines.
If you’re wondering how to draw a bat step by step, just follow each stage carefully. Take your time with every step, and soon you’ll have a complete bat drawing ready to color or decorate.
Learn How to Draw a Bat Step by Step
Get your pencil ready and start with light strokes so you can easily erase mistakes. Build your drawing one step at a time and enjoy watching your bat come to life.
Want to see the secret shapes? Follow the lines in these bat drawing ideas →
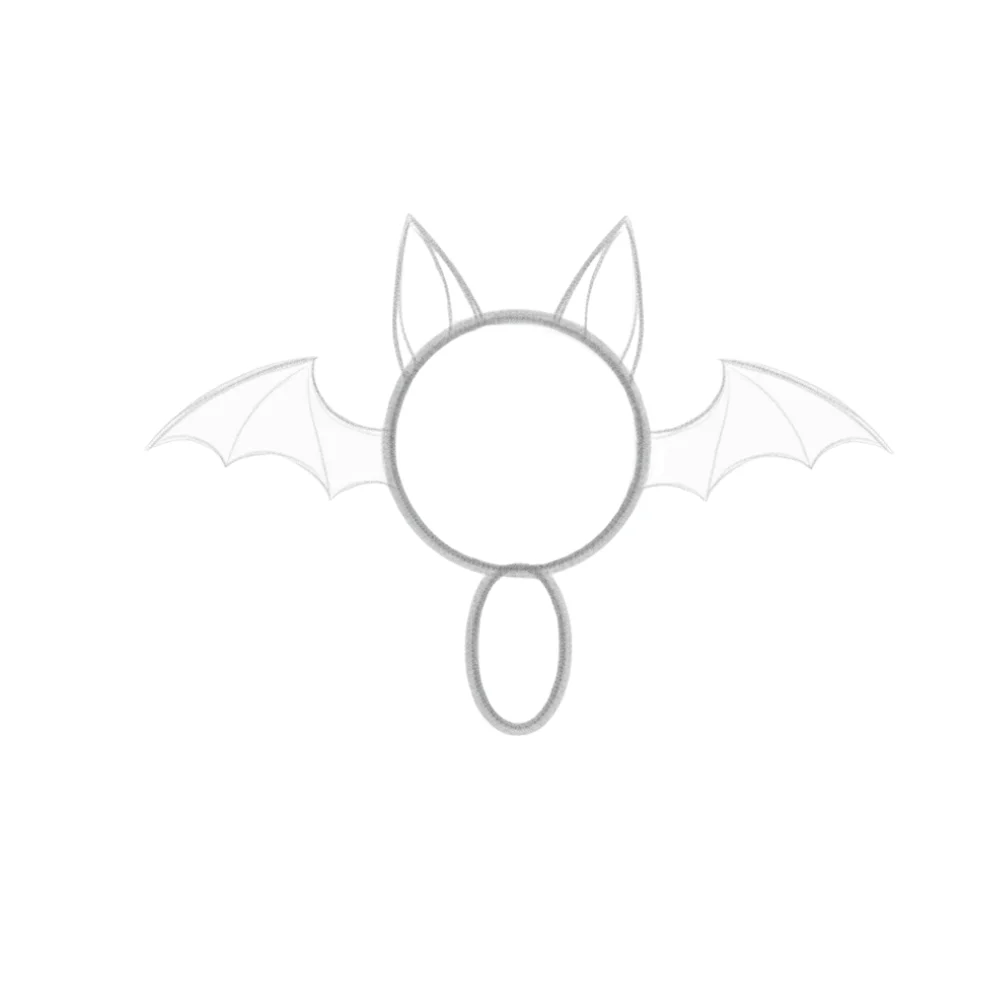
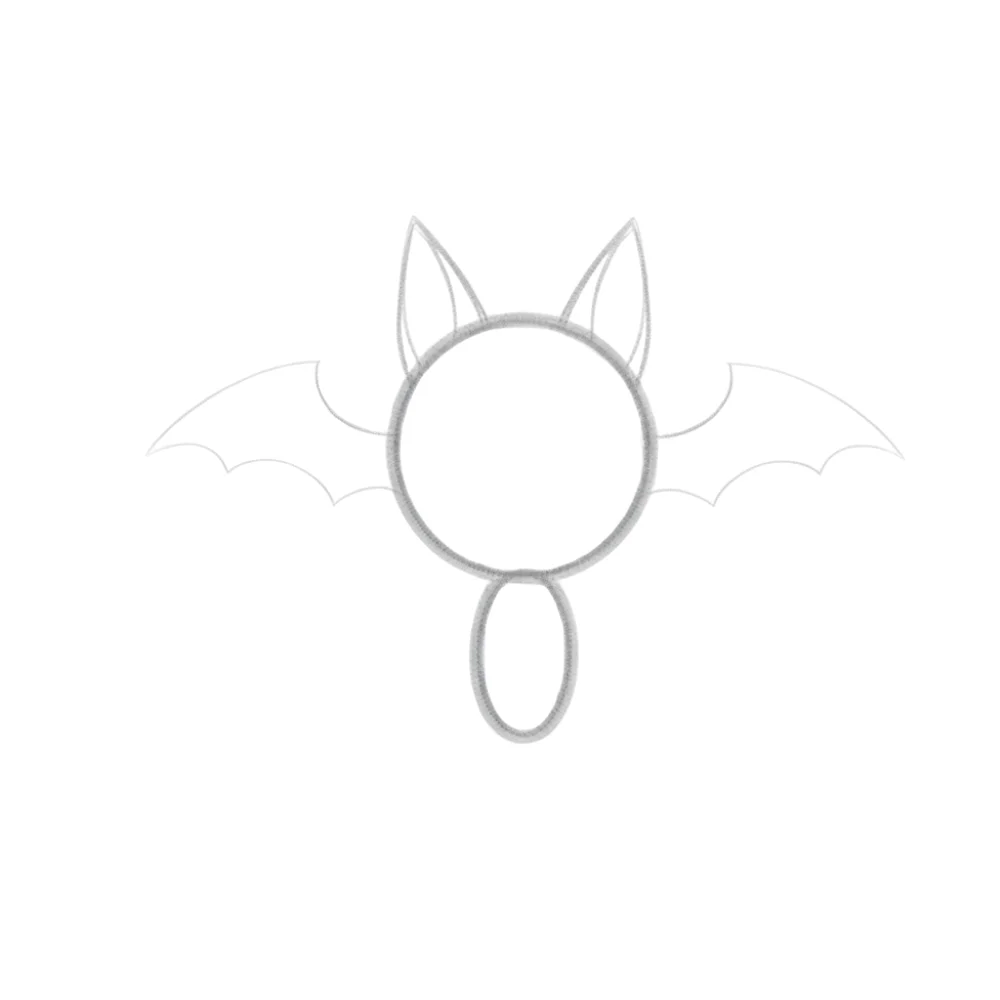
Draw very simple basic shapes
Start by drawing a medium circle for the bat’s head. Below it, draw a small oval for the body. Keep both shapes light and simple, leaving enough space on each side for the wings.

Add the ears and wing guidelines
Draw two large pointed triangle ears on top of the head. Then draw one long guideline extending from each side of the body to show where the wings will go. Keep the lines light and easy.
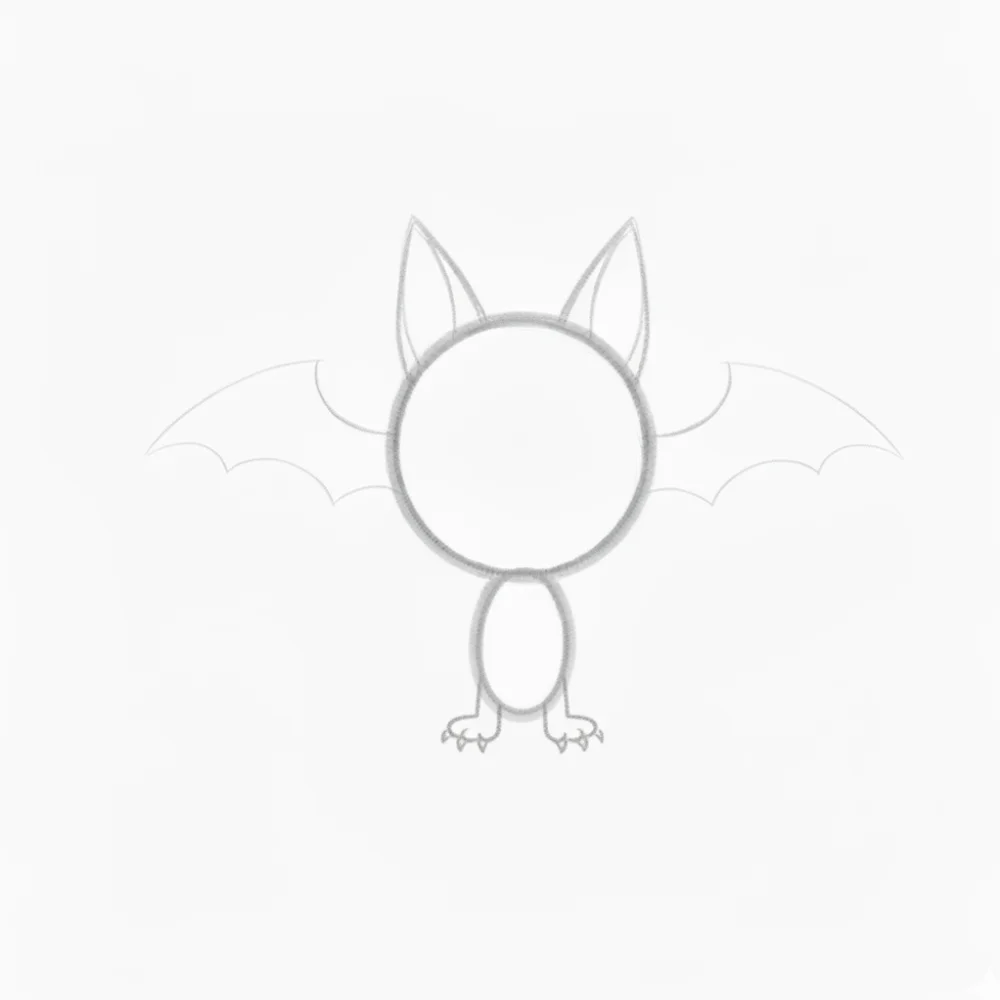
Shape the wings
Turn the wing guidelines into wide bat wings by drawing large curved lines on each side. Add two or three gentle curves along the bottom edge of each wing to create the classic bat wing shape.
Add the legs and feet
Draw two short legs below the body and add tiny feet with simple curved lines. Keep them small since the wings are the main focus of the drawing.
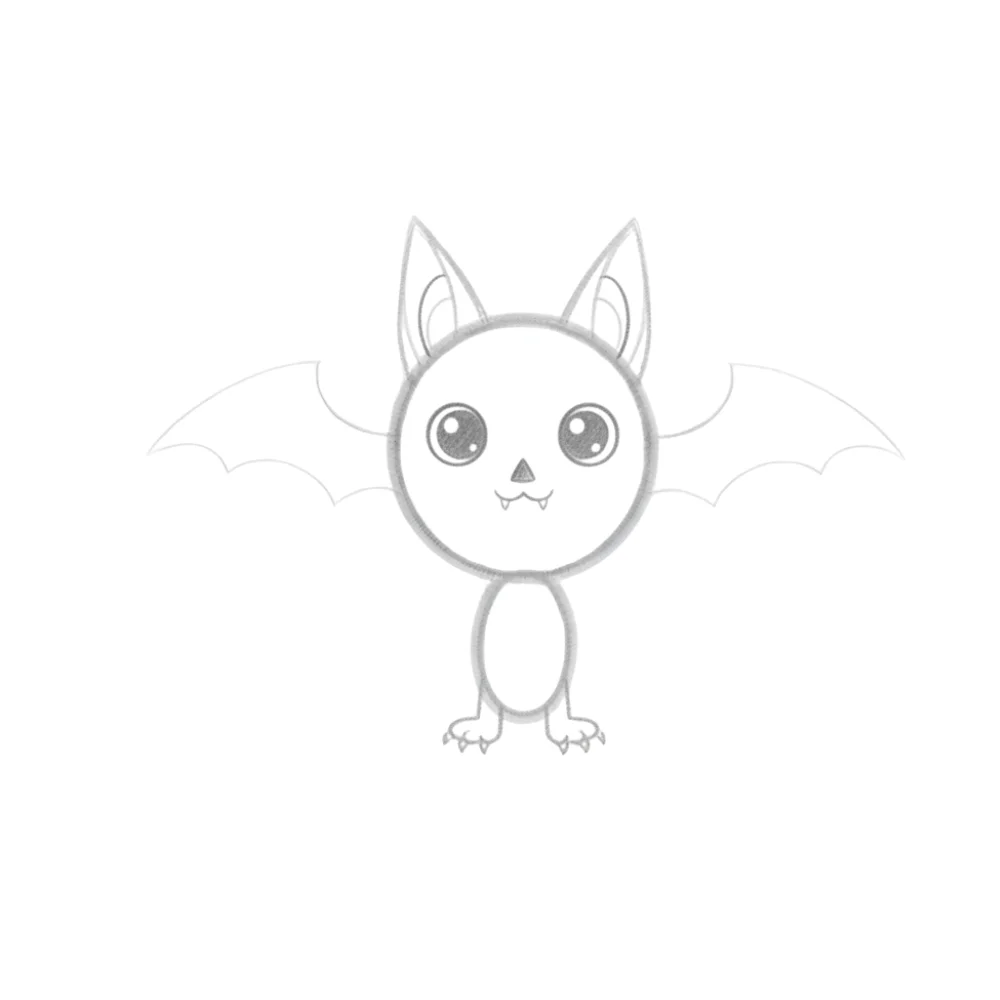
Add basic facial features
Draw two large round eyes, a tiny triangular nose, and a small smiling mouth. Add one simple inner line inside each ear to make them look more complete. Your cute bat is starting to appear.
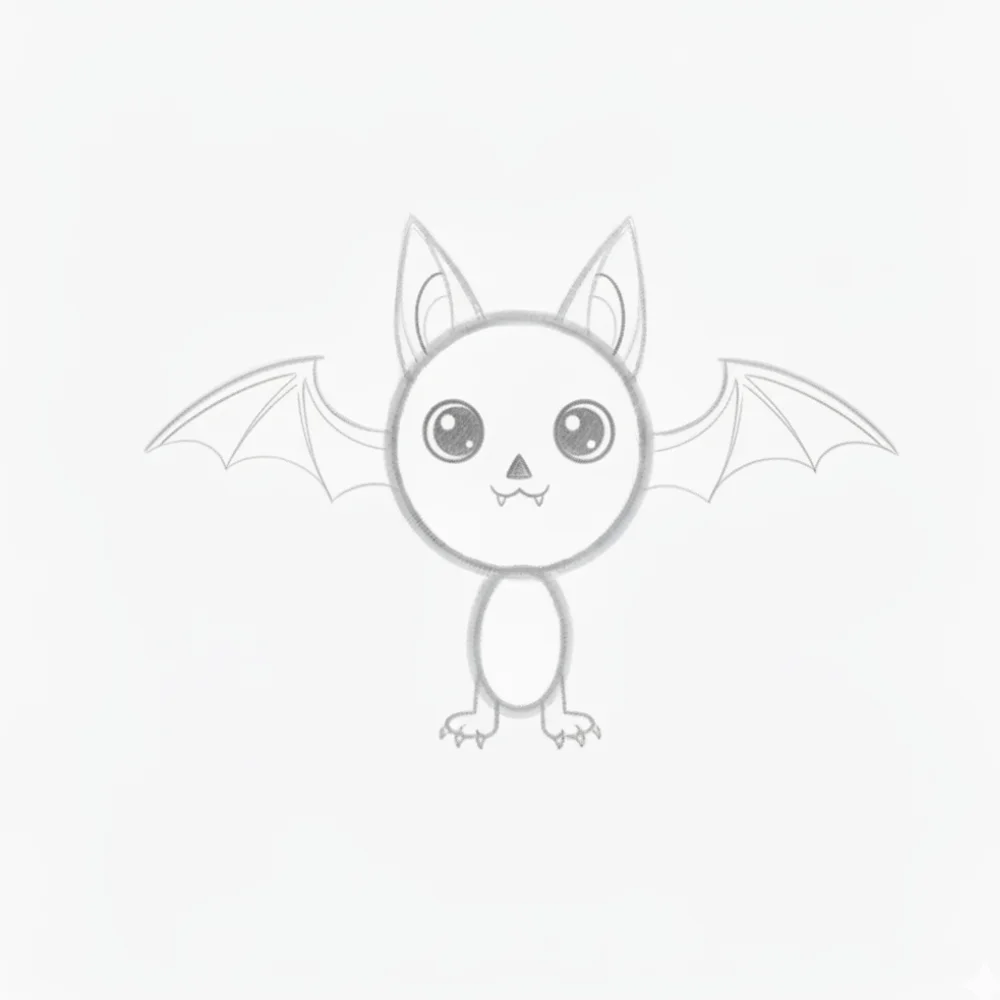
Refine the wings and body
Smooth the body outline and clean up the wing edges. Add a few simple lines inside each wing to show the wing structure. Keep the details minimal and easy for beginners.
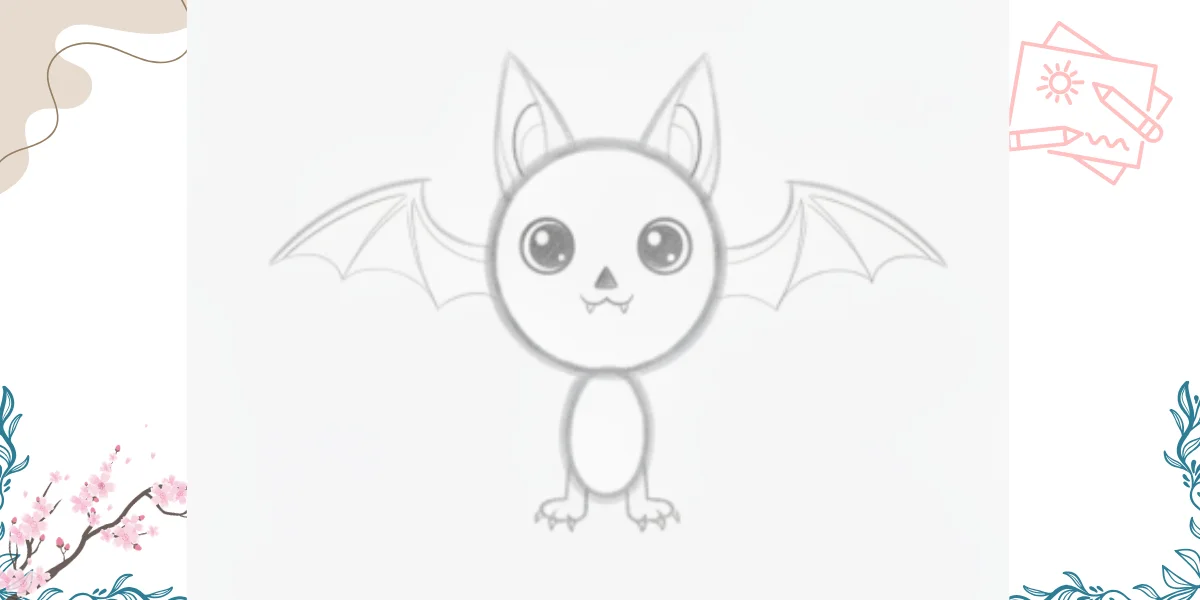
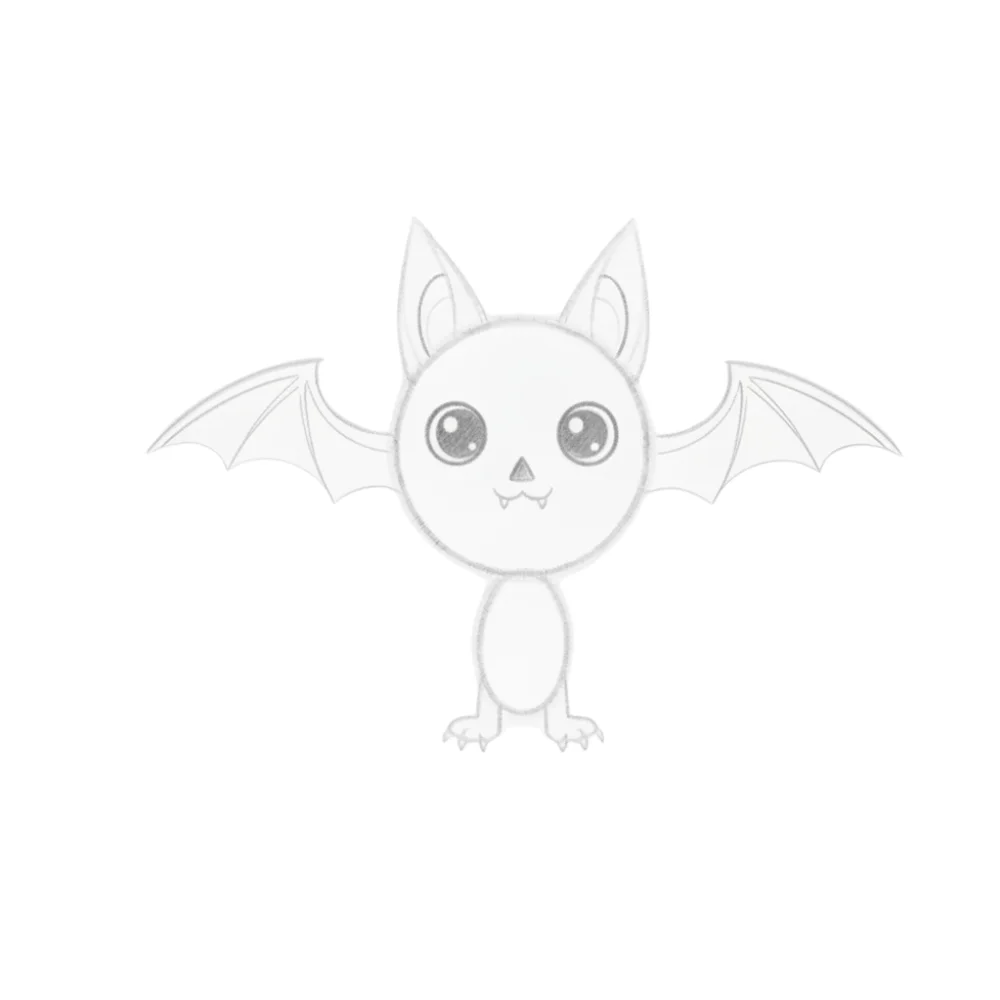
Final clean drawing with balanced detail
Erase the extra guidelines and darken the final outlines. Make sure the wings, face, and body look clean and balanced. Your bat drawing is now complete and ready to be colored.
Conclusion
Great job! You’ve learned how to draw a bat step by step by starting with simple shapes and gradually adding details. Taking one step at a time makes drawing easy and enjoyable for beginners.
Keep practicing and try drawing bats in different poses. You can also add a moon, stars, or a cave background to make your artwork even more fun.
FAQs about How to Draw a Bat
Why do my bat wings look uneven?
Try drawing the wing guidelines lightly first. This helps keep both wings balanced before adding the final outlines.
My bat doesn’t look symmetrical. How can I fix it?
Start with simple circles and guidelines, then compare both sides before darkening your lines.
How do I draw bat wings easily?
Use long curved lines with a few gentle curves along the bottom. Keep the wing shape simple instead of adding lots of details.
My bat’s face looks strange. What should I do?
Draw large round eyes, a tiny triangle nose, and a small smiling mouth to create a cute and friendly expression.
How can I make my bat drawing more interesting?
Add a full moon, stars, clouds, pumpkins, or a spooky cave background to create a fun nighttime scene.